Navigating the Month: A Guide to Creating a July 2026 Calendar in Excel
Related Articles: Navigating the Month: A Guide to Creating a July 2026 Calendar in Excel
Introduction
In this auspicious occasion, we are delighted to delve into the intriguing topic related to Navigating the Month: A Guide to Creating a July 2026 Calendar in Excel. Let’s weave interesting information and offer fresh perspectives to the readers.
Table of Content
Navigating the Month: A Guide to Creating a July 2026 Calendar in Excel
The year 2026 is just around the corner, and with it comes the opportunity to plan and organize your life efficiently. A well-structured calendar serves as a vital tool for managing tasks, scheduling appointments, and keeping track of important dates. Microsoft Excel, with its versatile features, presents a powerful platform for crafting a personalized calendar that caters to your specific needs. This article explores the process of creating a July 2026 calendar in Excel, delving into its functionalities and highlighting its benefits for individual and professional use.
Understanding the Basics
Before embarking on the creation process, it’s essential to grasp the fundamental principles behind a calendar. A calendar is essentially a visual representation of time, typically organized by days, weeks, and months. It provides a framework for organizing events, deadlines, and appointments, facilitating a structured approach to time management.
Creating the July 2026 Calendar in Excel
-
Open a New Workbook: Begin by launching Microsoft Excel and creating a new workbook.
-
Setting up the Grid: The foundation of the calendar lies in a grid structure. Use the following steps to create the grid:
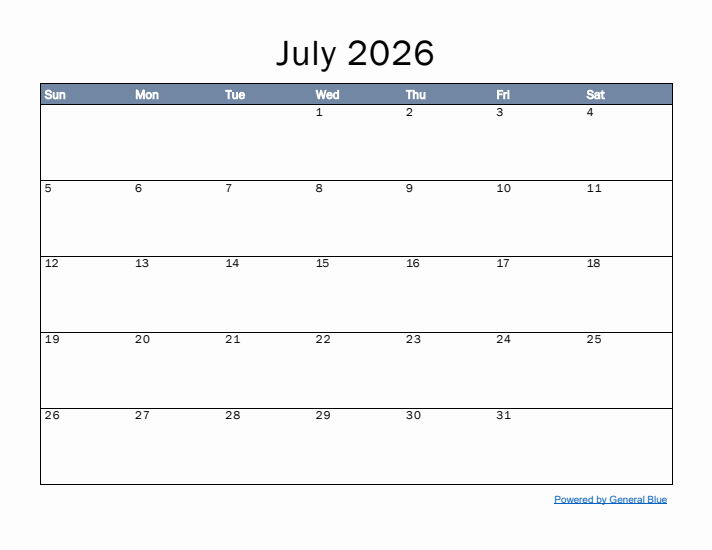
- Enter Dates: In cell A1, type "July 2026." In cell A2, enter "Sun," and continue with the days of the week (Mon, Tue, Wed, Thu, Fri, Sat) in cells B2 to G2.
- Populate Dates: Starting in cell A3, enter the date "1" for Wednesday, July 1st, 2026. Use the "Fill Handle" (the small black square in the bottom right corner of the cell) to auto-fill the remaining dates for the month.
-
Formatting for Clarity: Enhance the visual appeal and readability of the calendar with these steps:
- Merge Cells: Merge cells A1 to G1 to create a title cell for the month.
- Font and Alignment: Apply bold formatting and center-align the text in the title cell. Use a larger font size for the month name and adjust the font size for the days of the week.
- Borders and Color: Add borders around the cells to define the grid structure. You can also use different colors to highlight weekends or special days.
Beyond the Basics: Enhancing Functionality
The basic calendar structure provides a foundation for time management. However, Excel’s powerful features allow for customization and enhancements to cater to specific needs.
-
Adding Events and Appointments:
- Enter Events: Use individual cells within the grid to enter events, appointments, or tasks. Utilize different colors or font styles to distinguish between different categories.
- Color-Coding: Assign colors to specific categories or types of events. For example, use blue for work appointments, green for personal events, and red for deadlines.
-
Creating a Task List:
- Dedicated Sheet: Create a separate sheet in the workbook for a detailed task list. Include columns for task name, due date, priority, status, and notes.
- Linking to Calendar: Use hyperlinks to connect tasks from the task list to their corresponding dates on the calendar. Clicking on the hyperlink will instantly navigate to the relevant date on the calendar.
-
Utilizing Formulas for Flexibility:
- Automatic Weekday Calculation: Use the "WEEKDAY" function to automatically calculate the day of the week for each date in the calendar. This eliminates the need for manual entry.
- Conditional Formatting: Implement conditional formatting to highlight specific dates based on criteria. For example, highlight weekends in a different color or flag dates with important deadlines.
Benefits of Using an Excel Calendar
- Customization: Excel’s flexibility allows for tailored calendars to suit individual preferences and work styles.
- Organization: A structured calendar promotes organization and efficient time management, reducing the risk of missed deadlines or appointments.
- Visual Clarity: The visual representation of dates and events provides a clear overview of the month, allowing for easy identification of busy periods and available time slots.
- Integration: Excel’s integration with other Microsoft Office applications, such as Word and Outlook, allows for seamless data sharing and collaboration.
- Data Analysis: Excel’s powerful data analysis tools can be used to analyze calendar data, identifying patterns, trends, and areas for improvement in time management.
FAQs
1. Can I create a calendar for an entire year in Excel?
Yes, you can create a full year calendar in Excel. You can either create separate sheets for each month or use a single sheet with a more complex layout to accommodate all twelve months.
2. How do I print the calendar in Excel?
To print the calendar, navigate to the "File" tab, select "Print," and choose the desired print settings. You can adjust the page layout, margins, and orientation to ensure optimal printing.
3. Can I share my Excel calendar with others?
Yes, you can share your Excel calendar with others by saving it as a shared file on a network drive or cloud storage service. You can also use Excel’s collaboration features to allow multiple users to edit and update the calendar simultaneously.
4. Are there any templates available for creating calendars in Excel?
Yes, Microsoft provides pre-designed calendar templates that you can download and customize. You can find these templates by searching for "calendar templates" in the Excel "New" menu.
5. Can I add images or other graphics to my Excel calendar?
Yes, you can add images or graphics to your Excel calendar by inserting them into the cells. You can also use Excel’s drawing tools to create custom shapes and illustrations.
Tips for Creating a Useful Calendar
- Keep it Simple: Avoid overcomplicating the calendar with too much information. Focus on the essential events and deadlines.
- Use Color Effectively: Employ different colors to distinguish between categories and highlight important dates.
- Regularly Update: Make it a habit to update the calendar regularly to ensure accuracy and avoid missed appointments.
- Back Up: Regularly back up the calendar file to prevent data loss.
- Experiment with Features: Explore Excel’s features to find the tools that best suit your needs.
Conclusion
Creating a July 2026 calendar in Excel empowers individuals and professionals to take control of their time and manage their schedules effectively. By leveraging the versatility and functionality of Excel, users can tailor their calendars to their specific needs, fostering organization, clarity, and efficient time management. Whether for personal or professional use, a well-structured Excel calendar serves as an invaluable tool for navigating the complexities of modern life and achieving desired goals.


Closure
Thus, we hope this article has provided valuable insights into Navigating the Month: A Guide to Creating a July 2026 Calendar in Excel. We hope you find this article informative and beneficial. See you in our next article!