Crafting a 2026 Calendar in Excel: A Comprehensive Guide
Related Articles: Crafting a 2026 Calendar in Excel: A Comprehensive Guide
Introduction
With enthusiasm, let’s navigate through the intriguing topic related to Crafting a 2026 Calendar in Excel: A Comprehensive Guide. Let’s weave interesting information and offer fresh perspectives to the readers.
Table of Content
- 1 Related Articles: Crafting a 2026 Calendar in Excel: A Comprehensive Guide
- 2 Introduction
- 3 Crafting a 2026 Calendar in Excel: A Comprehensive Guide
- 3.1 Understanding the Basics
- 3.2 Creating a Basic 2026 Calendar: A Step-by-Step Guide
- 3.3 FAQs: Addressing Common Queries
- 3.4 Tips for Effective Calendar Creation
- 3.5 Conclusion
- 4 Closure
Crafting a 2026 Calendar in Excel: A Comprehensive Guide

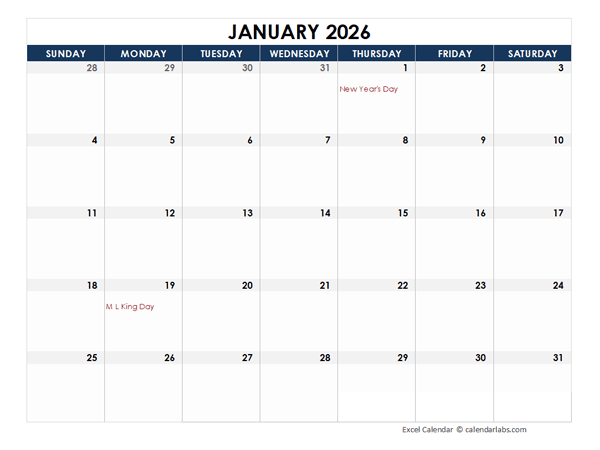
The ability to create a calendar in Excel offers numerous advantages for both personal and professional use. It allows for a visual representation of time, facilitating efficient scheduling, task management, and event planning. While Excel offers built-in calendar features, the creation of a custom calendar for a specific year, such as 2026, requires a slightly different approach. This article provides a comprehensive guide on how to create a 2026 calendar in Excel, emphasizing clarity, accuracy, and user-friendliness.
Understanding the Basics
Before delving into the creation process, it is essential to grasp the fundamental concepts involved:
- Dates and Time: Excel uses a numerical system for dates, where January 1, 1900, is represented by 1. This system facilitates calculations and comparisons involving dates.
- Formulas: Excel utilizes formulas to perform calculations and manipulate data. Understanding basic formulas is crucial for creating a calendar.
- Formatting: Excel offers a wide range of formatting options to customize the appearance of the calendar, including font styles, colors, and cell borders.
Creating a Basic 2026 Calendar: A Step-by-Step Guide
Step 1: Setting up the Framework
- Open a new Excel workbook.
- Enter the starting date for the calendar in cell A1. For 2026, this would be "1/1/2026".
-
In cell A2, enter the formula
=A1+1. This formula calculates the next day. - Select cell A2 and drag the fill handle down to cell A32. This will automatically fill the cells with consecutive dates for the month of January.
Step 2: Creating a Monthly Layout
- In cell B1, enter the month’s name. For January, this would be "January".
-
In cell B2, enter the formula
=WEEKDAY(A2,2). This formula determines the day of the week (Monday = 1, Sunday = 7). -
In cell C2, enter the formula
=IF(B2=1,A2,"").This formula displays the date if the day of the week is Monday, otherwise, it displays nothing. - Copy this formula to cells D2, E2, F2, G2, and H2.
-
In cell B3, enter the formula
=IF(B2=7,A3,"").This formula displays the date if the previous day was Sunday, otherwise, it displays nothing. - Copy this formula to cells C3, D3, E3, F3, G3, and H3.
- Repeat steps 4 and 6 for subsequent rows, adjusting the row number in the formulas accordingly. This will create a grid representing the days of the week.
Step 3: Completing the Calendar
- To continue to the next month, in cell A33, enter the formula
=A32+1. - In cell B33, enter the month’s name (e.g., "February").
- Repeat steps 2 and 3 from the previous section to populate the cells with dates for the remaining months.
- Format the calendar to your preference. You can adjust font styles, colors, and cell borders to enhance the visual appeal.
Step 4: Enhancing the Calendar (Optional)
-
Add holidays: Create a separate sheet or list of holidays for the year. Use the
VLOOKUPfunction to automatically display holidays on the calendar. - Insert images or graphics: Add relevant images or graphics to enhance the visual appeal of the calendar.
- Create a color-coded system: Use different colors to highlight specific events, appointments, or tasks.
- Add hyperlinks: Link cells to external websites, documents, or email addresses for easy access to related information.
FAQs: Addressing Common Queries
Q: Can I create a calendar for a different year?
A: Yes, simply adjust the starting date in cell A1 to the desired year. For example, to create a calendar for 2025, enter "1/1/2025" in cell A1.
Q: How do I create a calendar with multiple years?
A: To create a multi-year calendar, you can repeat the steps outlined above for each year. Alternatively, you can use a more advanced formula to generate a multi-year calendar in a single sheet.
Q: How do I print the calendar?
A: Once the calendar is complete, you can print it by selecting the desired cells and clicking on the "Print" button. You can adjust the print settings to fit the calendar on a single page or multiple pages.
Q: Can I share the calendar with others?
A: Yes, you can share the calendar with others by saving it as a file and sending it to them. You can also share it online using cloud storage services like Google Drive or OneDrive.
Tips for Effective Calendar Creation
- Use clear and concise labels: Clearly label the days of the week and months to ensure easy navigation.
- Choose appropriate colors: Utilize color coding to distinguish different events, appointments, or tasks.
- Maintain consistency: Use consistent formatting throughout the calendar for a professional appearance.
- Use conditional formatting: Apply conditional formatting to highlight important dates or events.
- Consider accessibility: Ensure the calendar is accessible to users with disabilities by using appropriate font sizes and color contrast.
Conclusion
Creating a 2026 calendar in Excel empowers you to effectively manage time, schedule events, and track tasks. By following the steps outlined in this guide, you can create a personalized and functional calendar that meets your specific needs. Whether you are an individual seeking to improve personal organization or a professional managing multiple projects, a custom Excel calendar can significantly enhance your productivity and efficiency.


Closure
Thus, we hope this article has provided valuable insights into Crafting a 2026 Calendar in Excel: A Comprehensive Guide. We hope you find this article informative and beneficial. See you in our next article!